 By
By A pool is one of the most exciting improvements you can make to a Las Vegas home, but it is also a substantial construction project with multiple trades, inspections, and finish selections. This pool construction timeline guide explains what happens from the first design conversation to your first swim, so you can plan your backyard transformation with clear expectations.
For most custom pools, the full process takes roughly 10 to 16 weeks after permits are issued. A simple design with straightforward access may move more quickly. A complete outdoor living environment with a spa, patio cover, outdoor kitchen, fire feature, extensive hardscape, or premium water features can require additional coordination. Material availability, HOA approvals, municipal inspections, weather, and changes made during construction can also affect the schedule.
Before the Pool Build: Design, Budget, and Approvals
The strongest projects begin before any equipment enters the yard. During the initial consultation, your contractor should discuss how you want to use the space. Some homeowners prioritize family recreation and a large shallow play area. Others want a quiet spa, an architectural infinity edge, a wet deck for lounge chairs, or an entertainment-focused backyard that connects the pool to an outdoor kitchen and gathering area.
A professional site evaluation considers property lines, existing utilities, access for excavation equipment, drainage, elevation changes, and local code requirements. In Las Vegas, the placement of the pool in relation to the home, walls, utilities, and future landscape is especially important. Early decisions about shade, decking surfaces, artificial turf, fire features, and lighting help create a cohesive plan instead of a pool that feels added on later.
The Design and 3D Visualization Phase
Design typically takes one to three weeks, depending on the complexity of the project and the speed of homeowner feedback. This is the time to refine the pool shape, depth, spa configuration, waterline tile, coping, decking, equipment location, and feature selections.
3D design is valuable because it allows you to see sightlines, scale, and how different elements work together before construction begins. A tanning ledge may look ideal in a plan view but affect swim space in a compact yard. Likewise, a raised spa or fire feature may become the visual focal point of the backyard, which affects material choices throughout the design.
Once you approve the final plan, the construction agreement, specifications, and finish selections establish the roadmap for the work ahead. Finalizing key materials early reduces the risk of delays later, particularly for specialty tile, custom coping, equipment upgrades, and premium features.
HOA and Permit Timing
HOA review and building permits happen before construction can begin. HOA approval can take anywhere from a few days to several weeks, depending on the community and the completeness of the submitted plans. Some associations require color samples, property surveys, landscape details, or revised drawings before they grant approval.
After required documents are submitted, municipal permit timing varies. Your contractor should manage the permitting process, respond to plan-check questions, and schedule required inspections. Do not treat this stage as empty waiting time. It is an opportunity to finalize finish details, coordinate financing if needed, and prepare the yard for construction access.
Pool Construction Timeline Guide: The Build Stages
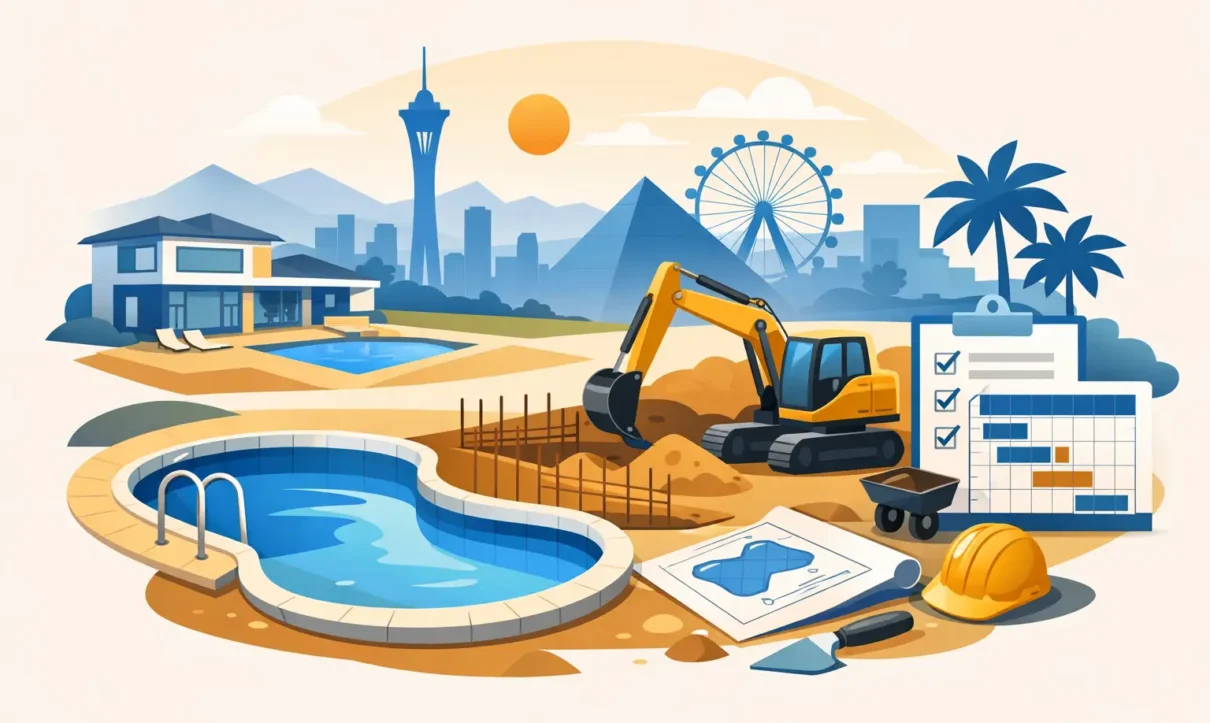
Once approvals are in place, the visible transformation begins. While every project has its own sequence, a well-managed pool build generally follows the stages below.
Layout and Excavation: Usually 1 to 3 Days
The crew first lays out the approved pool design in the yard. This is when the plan becomes real: pool boundaries, spa placement, steps, benches, and equipment locations are marked for verification before digging begins.
Excavation follows. The crew removes soil to establish the pool’s footprint, depth, and contours. Access conditions make a meaningful difference here. An open side yard provides easier machine access than a narrow lot with limited entry, and rocky soil or unforeseen underground conditions can require extra time. Existing landscaping, concrete, or structures that must be removed also affect this phase.
Steel, Plumbing, and Electrical: About 1 to 2 Weeks
After excavation, reinforcing steel is installed to form the pool shell. The steel schedule is engineered for the project and provides the structural framework that will support the finished pool.
At the same time, plumbing lines are installed for circulation, drains, returns, skimmers, spa jets, and water features. Electrical work is coordinated for pumps, lights, automation, heaters, and any backyard features included in the project. This stage is where thoughtful design pays off. Adding a future feature after the shell is complete is much more difficult than planning for it from the start.
Required inspections commonly occur before the next major step. Inspection schedules are outside the contractor’s direct control, but experienced local builders plan the work sequence around them to keep the project moving.
Shotcrete or Gunite: One Major Construction Day
Shotcrete or gunite is applied over the steel framework to create the structural shell. This is one of the most dramatic days in the pool construction timeline. The excavation is transformed into a recognizable pool, with the steps, benches, spa, and walls taking their permanent shape.
The shell then needs time to cure. During this period, crews may continue select work around the project, but the pool structure should not be rushed. Proper curing supports long-term durability, which matters in the intense heat and dry conditions of the Las Vegas Valley.
Tile, Coping, and Decking: About 2 to 4 Weeks
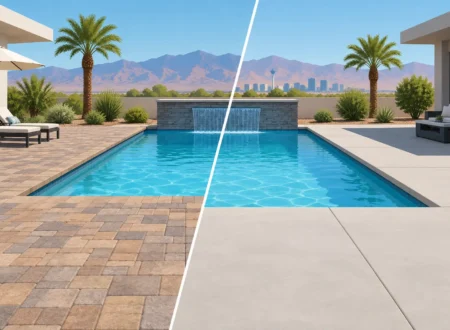
Once the shell is ready, finish work begins. Waterline tile, coping, stone details, and other architectural elements are installed first. Then the surrounding deck is prepared and completed. Depending on the design, this may include pavers, travertine, concrete, porcelain tile, or other hardscape materials.
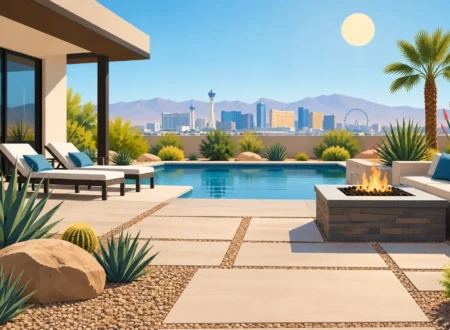
This phase often overlaps with landscaping, walls, patio covers, outdoor kitchens, fire features, and drainage work. Coordinating all of these components through one design-build team can protect the visual continuity of the project and reduce conflicts between separate trades.
There are practical trade-offs to consider. Natural stone can deliver a high-end appearance but may need periodic sealing. Large-format porcelain offers a clean, contemporary look and consistent color, while pavers can make future repairs more manageable. The right choice depends on the home’s architecture, sun exposure, maintenance preferences, and how the space will be used.
Interior Finish, Fill, and Startup: About 1 Week
The interior finish is one of the last major steps before the pool is filled. Plaster, pebble, and polished aggregate finishes each offer a different visual effect, texture, and price point. Once the finish is applied, the pool is filled continuously according to the builder’s instructions.
After filling, the equipment is started, water chemistry is balanced, and the system is tested. Automation settings, pool lighting, heating functions, water features, and spa controls should all be reviewed with you. This final orientation is not merely a handoff. It gives a new pool owner the confidence to operate the equipment, understand water care, and protect the investment from day one.
What Can Delay a Custom Pool Project?
No reputable builder should promise that every pool will follow the same calendar. A custom project involves variables that cannot always be predicted at the contract stage. Common schedule changes include delayed HOA or permit approval, material backorders, inspection availability, change orders, difficult site access, underground utility conflicts, and weather that prevents concrete or finish work.
Homeowner selections can also influence timing. Choosing a specialty mosaic tile, changing the pool depth after excavation, or adding an outdoor kitchen midway through construction may be worthwhile, but those decisions require updated planning and materials. The best approach is to make major design decisions before permits are submitted and keep communication open if priorities change.
How to Keep Your Backyard Project Moving
You can help protect your construction schedule by approving plans and selections promptly, providing HOA information early, and keeping access areas clear during the build. If you are combining a pool with landscaping, a patio cover, or other improvements, decide which elements are part of the initial project rather than treating them as unrelated additions.
It also helps to plan around your intended swim season. Homeowners often begin the process in late fall or winter to position their project for spring or early summer use. However, construction schedules and permitting demand change throughout the year, so an early design consultation is a better strategy than waiting for a particular month.
A thoughtfully planned pool takes time because every stage contributes to the finished experience. With more than 30 years of Las Vegas Valley construction experience, Laguna Pool and Spa can help you move from an initial idea to a professionally designed outdoor retreat with a clear scope, coordinated construction, and a free design consultation when you are ready to begin.